This time I tried making name snowflakes. Basically you make them the same way as a regular one, but when it is time to cut a design, you use a name as the design.

For example, here is one I made with Steven's name. It is important to make sure all of the letters are touching each other and touching both the top and the bottom of the triangle.

Then you cut out the name so that it is all one piece. Cutting it can be a little tricky depending on how long the name is and the kinds of letters it includes. I managed with scissors, but it would have been a lot easier with an exacto knife.

The final result is beautiful! And you would never guess that it's made from someone's name unless you knew to look closely. And every name makes such a unique snowflake. Here is Kenneth's:


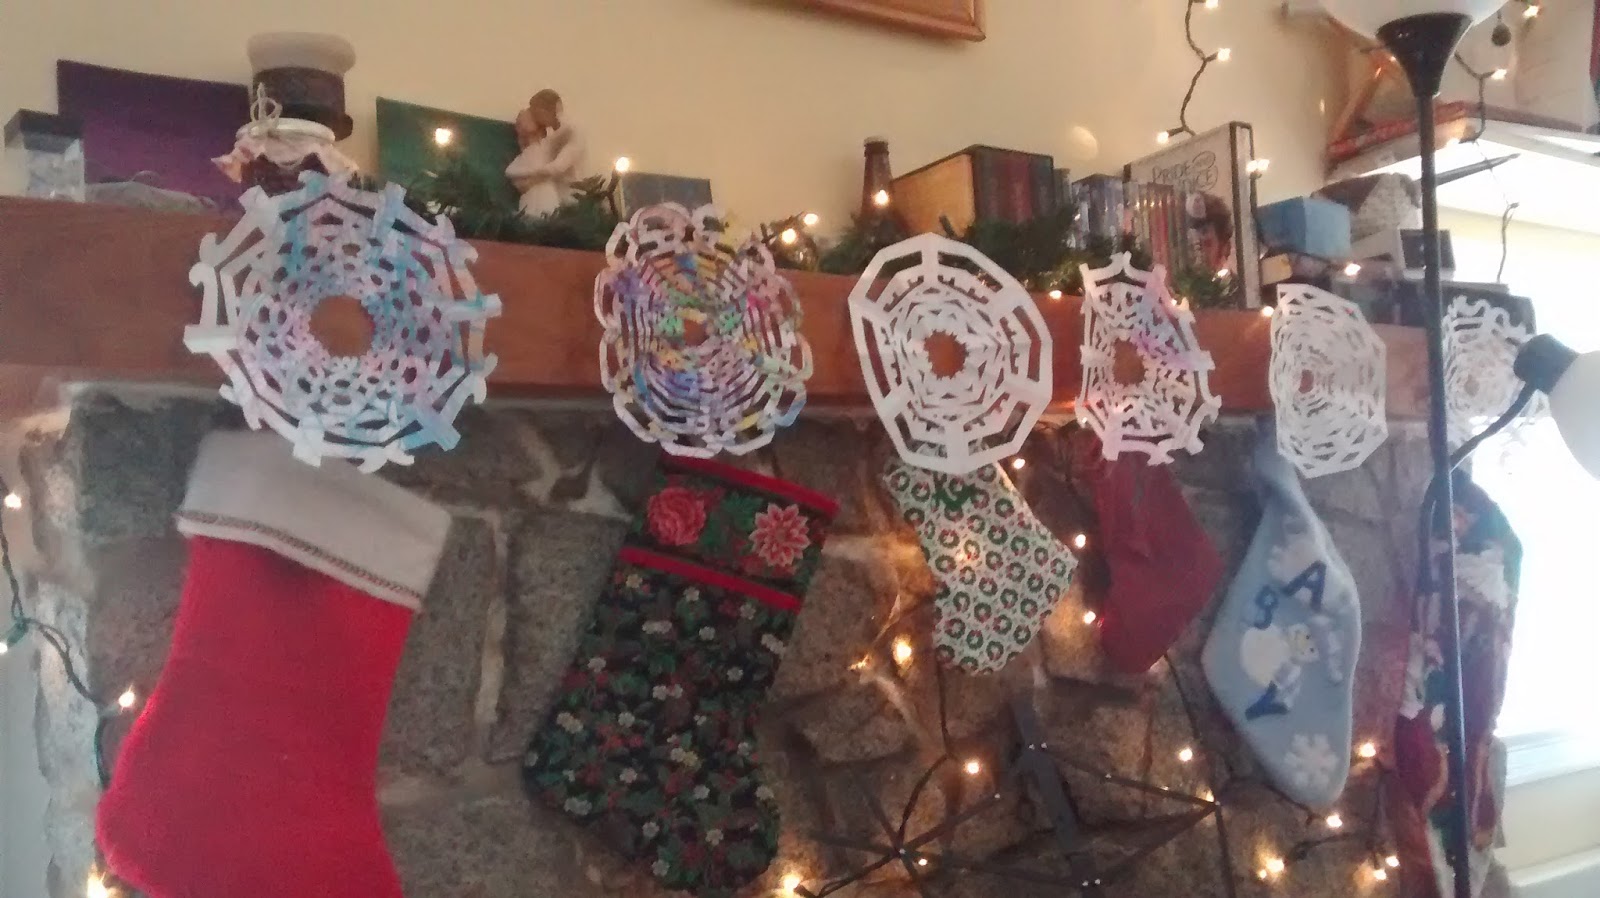
I made a name snowflake for each person living in our home, and used them as name tags for our stockings!
I am getting very excited for Christmas! What is your favourite thing about this time of year?
No comments:
Post a Comment