Showing posts with label Doctor Who. Show all posts
Thursday, 7 December 2017
Doctor Who Shawl
It's no surprise that I don't have a lot of time for extra projects these days. "Arts and crafts" projects are especially tricky—if either child is around, they want to know what Mommy is doing, and they want to help! But that doesn't stop me from trying the occasional project, especially when I find a pattern that really makes me think of someone. (Like when I made Toothless and the baby kraken.)
This Doctor Who shawl is another such project, made for a friend of mine. It wasn't too tricky, just time consuming. I think that maybe I should stick to smaller projects until the kids get older!
You can check out the pattern here.
Just getting started, back in June.
And the shawl about to be finished—in October! But you have to admit, it is pretty cool.
Thursday, 14 January 2016
Bow Ties for Little People and Big People
As you may remember, if you visit my blog fairly often, last Halloween my family dressed up in Doctor Who costumes. Since then I posted about how I made the 11th Doctor costumes and the TARDIS costume. But as I was writing the post on the 11th Doctor costumes I skipped explaining how I made the Doctor's iconic bow tie and left it for a future post. Well, the time for that post has come!
You all know you want to know how to make bow ties.
Because bow ties are cool.
Bow Ties for Little People
To make a small-person bow tie, you need some velcro, a 4 inch by 4 inch piece of fabric, a 2 inch by 3/4 inch piece of fabric, and a piece of fabric that is 1 inch wide by whatever length you need to go around their neck, plus a little.
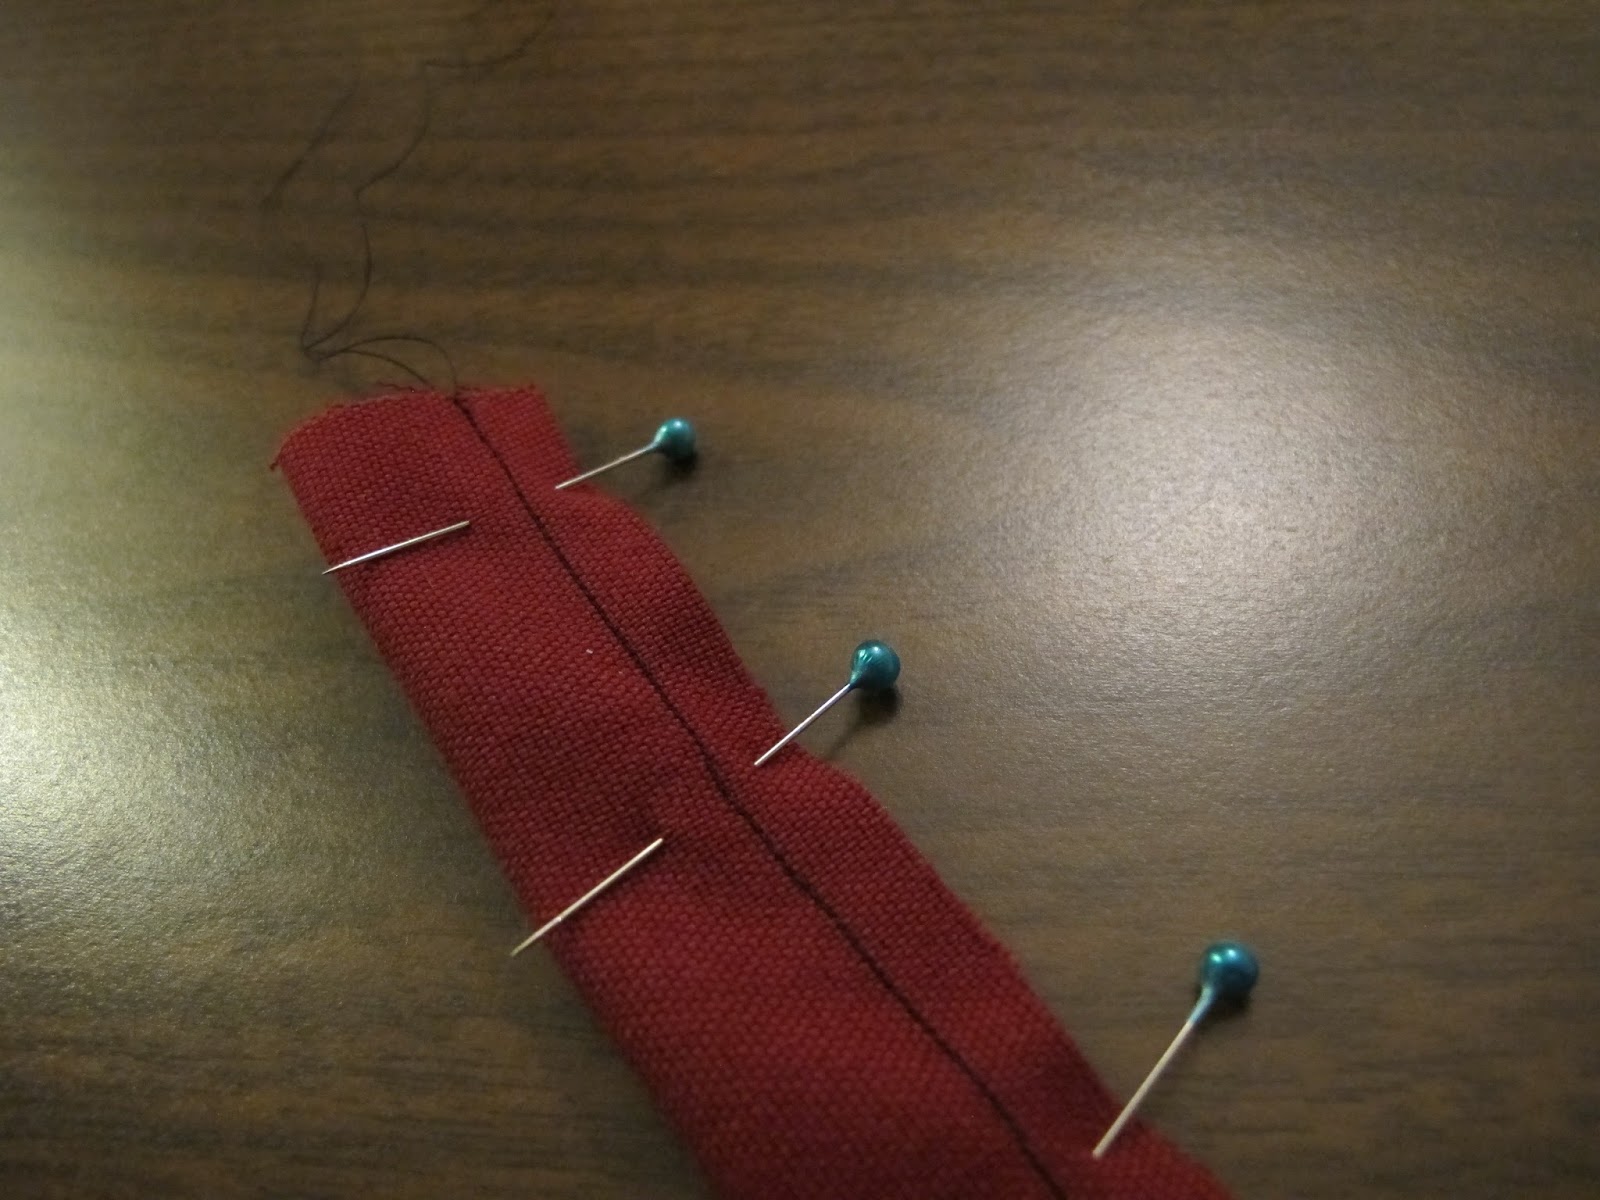
Starting with the long, 1 inch wide piece of fabric, fold it in half right-side in, pin, and sew a seam lengthwise, turning it into a long tube.
Turn the tube right-side out (generally the easiest way is by fastening a safety pin to one end and threading it through the tube of fabric). Press the tube flat and attach velcro to each end so that it will sit comfortably around your little person's neck.
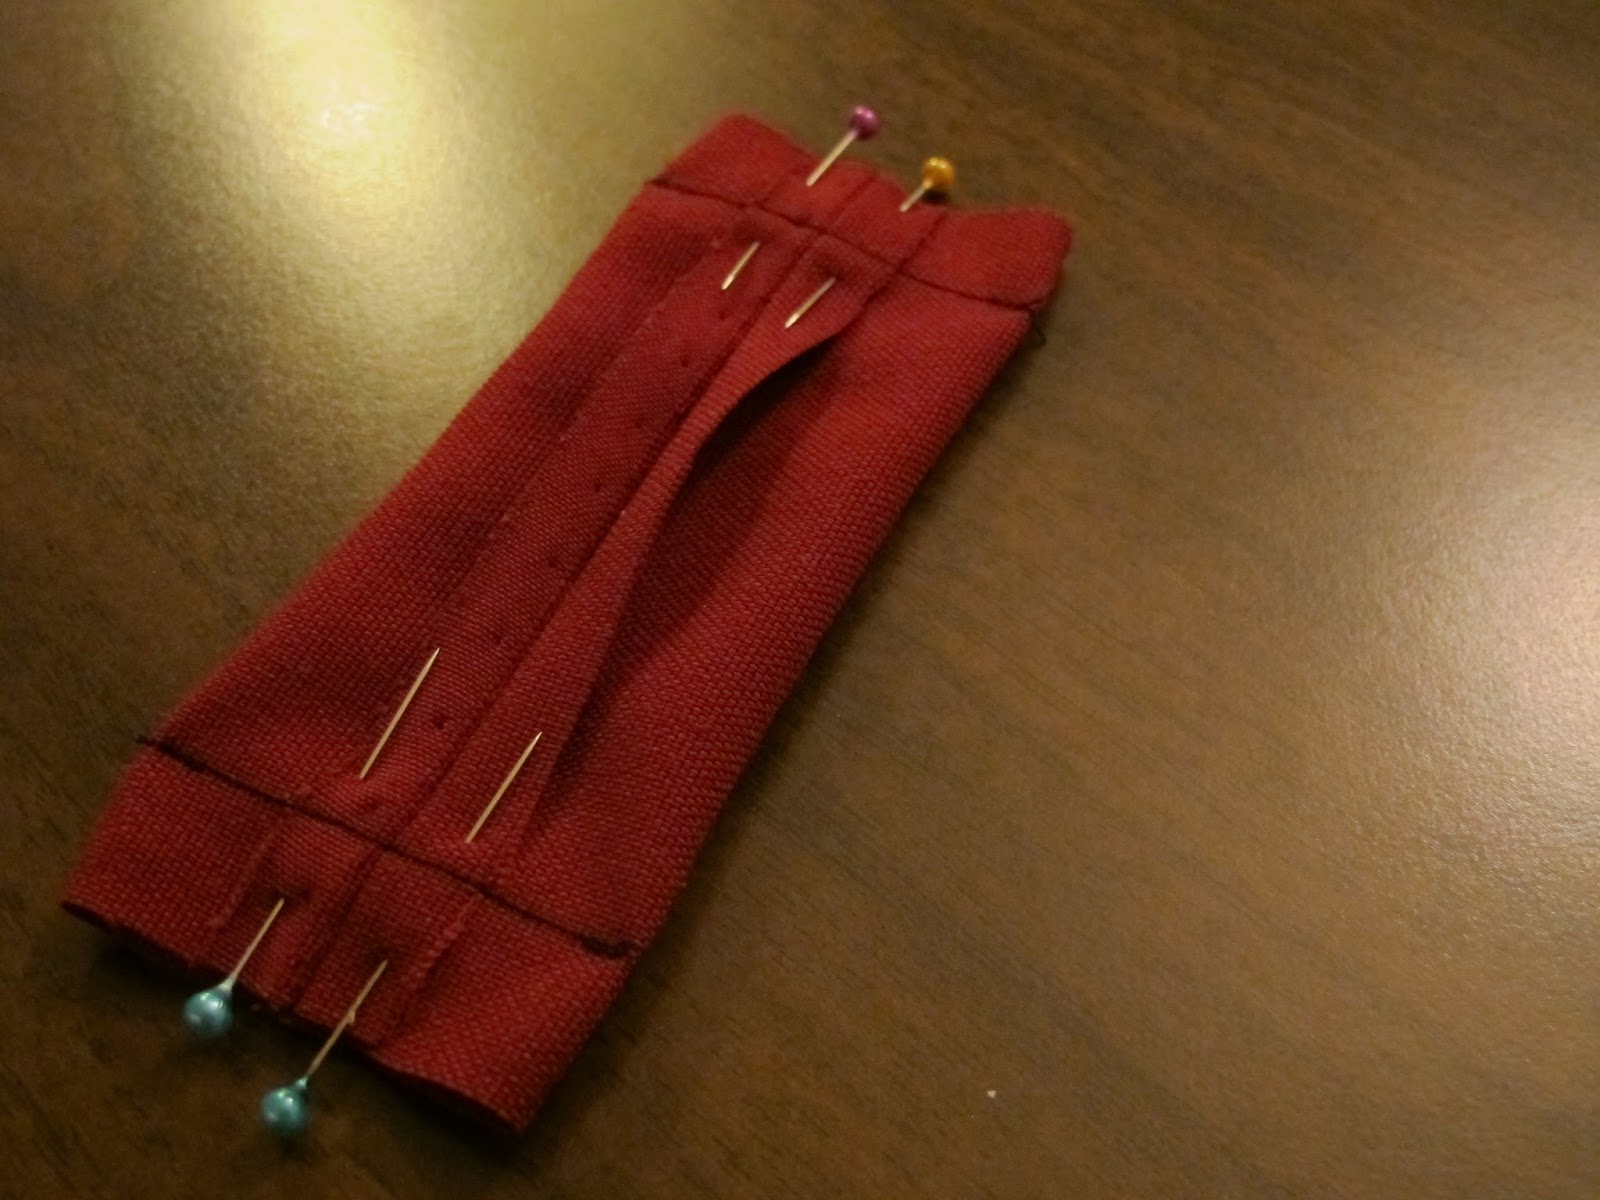
Take the 4x4 piece of fabric and fold it in half, right-side in. Pin and sew lengthwise, 1/4 inch from the edge, leaving a 1-2 inch gap in the middle.
Unpin, and adjust the tube of fabric so that the seam is sitting in the middle of one side. Pin the flaps made by the seam flat to the fabric.
Sew 1/4 inch seams along both of the short ends.
Turn it right-side out through the hole you left in the lengthwise seam, and hand stitch the hole closed.
Turn it over - the other side doesn't have any seams at all! That is the front of your bow tie.
Take the final small piece of fabric, fold it in half right-side in, and sew lengthwise to make it a narrow tube. Turn it right-side out and stitch each end closed.
Gather the bow tie in the middle, wrap the small strip you just made around the middle and hand stitch it to the back of the bowtie so that it keeps it gathered in the middle. Attach the bow tie to the middle of the long strip you made first, and it is finished!
Bow Ties for Big People
While "pre-tied" bow ties are simple and easy to use, especially for little people, I decided to make a "real" bow tie for the big Doctor costume. I found a great tutorial here that came with its own pattern. I won't go into detail on how it's made, since the tutorial does such a great job, but here is a summary.
Print out the pattern and trace it on your fabric, cutting 4 pieces in total. If your fabric isn't stiff you will want to use some iron-on interfacing to make it stiff. In pairs, sew the ends of your fabric pieces together to make 2 long pieces.
Pin right-sides together and sew all the way around, leaving a hole near the middle.
Before turning it right-side out, clip the corners so that they will lay nice and flat.
Turn it right-side out, hand stitch the hole closed, and iron.
Then all that is left for you to do is learn how to tie a bow tie, and go be cool!
You all know you want to know how to make bow ties.
Because bow ties are cool.
Bow Ties for Little People
To make a small-person bow tie, you need some velcro, a 4 inch by 4 inch piece of fabric, a 2 inch by 3/4 inch piece of fabric, and a piece of fabric that is 1 inch wide by whatever length you need to go around their neck, plus a little.
Starting with the long, 1 inch wide piece of fabric, fold it in half right-side in, pin, and sew a seam lengthwise, turning it into a long tube.
Turn the tube right-side out (generally the easiest way is by fastening a safety pin to one end and threading it through the tube of fabric). Press the tube flat and attach velcro to each end so that it will sit comfortably around your little person's neck.
Take the 4x4 piece of fabric and fold it in half, right-side in. Pin and sew lengthwise, 1/4 inch from the edge, leaving a 1-2 inch gap in the middle.
Unpin, and adjust the tube of fabric so that the seam is sitting in the middle of one side. Pin the flaps made by the seam flat to the fabric.
Sew 1/4 inch seams along both of the short ends.
Turn it right-side out through the hole you left in the lengthwise seam, and hand stitch the hole closed.
Turn it over - the other side doesn't have any seams at all! That is the front of your bow tie.
Take the final small piece of fabric, fold it in half right-side in, and sew lengthwise to make it a narrow tube. Turn it right-side out and stitch each end closed.
Gather the bow tie in the middle, wrap the small strip you just made around the middle and hand stitch it to the back of the bowtie so that it keeps it gathered in the middle. Attach the bow tie to the middle of the long strip you made first, and it is finished!
Bow Ties for Big People
While "pre-tied" bow ties are simple and easy to use, especially for little people, I decided to make a "real" bow tie for the big Doctor costume. I found a great tutorial here that came with its own pattern. I won't go into detail on how it's made, since the tutorial does such a great job, but here is a summary.
Print out the pattern and trace it on your fabric, cutting 4 pieces in total. If your fabric isn't stiff you will want to use some iron-on interfacing to make it stiff. In pairs, sew the ends of your fabric pieces together to make 2 long pieces.
Pin right-sides together and sew all the way around, leaving a hole near the middle.
Before turning it right-side out, clip the corners so that they will lay nice and flat.
Turn it right-side out, hand stitch the hole closed, and iron.
Then all that is left for you to do is learn how to tie a bow tie, and go be cool!
Thursday, 12 November 2015
TARDIS Costume
For Halloween this year, our family all wore Doctor Who costumes. I was the TARDIS (basically a time machine that looks like a British police box, for those who don't know). I had seen some pictures on pinterest of TARDIS dresses, so I thought that would be fun to try.
I started by scouring thrift stores for royal blue coloured clothes. I ended up finding a skirt and top. I also got a yellow shirt and a black sash. I had some back heels at home, which completed what I needed for the costume.
Unlike my husband's and son's 11th Doctor costumes which needed very little done to the pieces I found at thrift stores, I had a bit more work to do for my TARDIS costume.
"Police Box" Belt
The first thing I did was add lettering to the sash so that it read "Police Public Call Box". I used acrylic paint, since that's what I had around the house. It was painstaking work to freehand the lettering, but I was very happy with how it turned out.
Windows
Next I had to make the iconic police box windows. I decided to remove the front pockets off the blue shirt and replace them with windows.
I cut out white rectangles of fabric, pinning them where the pockets used to be.
Then I used a wide zigzag stitch to attach the white fabric and trace the shape of the windows. I ended up tracing over it a couple of times to make the lines more solid-looking.
Police Box Sign
And finally I added the police box sign. To do this, I researched how to print on fabric and found a helpful tutorial that explains how you can use freezer paper.
You cut a piece of your fabric that is slightly larger than 8 1/2 x 11 and iron it to make sure that it is very flat. Then you cut an 8 1/2 x 11 piece of freezer paper. Freezer paper has a wax coating only on one side. You put your fabric on the ironing board wrong side up and place the freezer paper wax side down on the fabric, ironing it so that the freezer paper sticks to the fabric. Then trim it so that it is exactly 8 1/2 x 11 (the size of regular printer paper).
Then you set up the printer to print high quality on "other" photo paper and print on the right side of the fabric that has the freezer paper attached to the other side. This process worked pretty well for me, but I had a hard time getting our printer to accept the fabric/freezer paper. But with Steve's help we were able to trick the printer into accepting it and the final product looked really good!
Then you peel the freezer paper off the fabric and trim the fabric down to the size you want to use. I used my sewing machine to attach the fabric sign to the skirt.
Then all that was left for me to do was assemble all of the pieces together to make my TARDIS outfit!
I started by scouring thrift stores for royal blue coloured clothes. I ended up finding a skirt and top. I also got a yellow shirt and a black sash. I had some back heels at home, which completed what I needed for the costume.
Unlike my husband's and son's 11th Doctor costumes which needed very little done to the pieces I found at thrift stores, I had a bit more work to do for my TARDIS costume.
"Police Box" Belt
The first thing I did was add lettering to the sash so that it read "Police Public Call Box". I used acrylic paint, since that's what I had around the house. It was painstaking work to freehand the lettering, but I was very happy with how it turned out.
Windows
Next I had to make the iconic police box windows. I decided to remove the front pockets off the blue shirt and replace them with windows.
I cut out white rectangles of fabric, pinning them where the pockets used to be.
Then I used a wide zigzag stitch to attach the white fabric and trace the shape of the windows. I ended up tracing over it a couple of times to make the lines more solid-looking.
Police Box Sign
And finally I added the police box sign. To do this, I researched how to print on fabric and found a helpful tutorial that explains how you can use freezer paper.
You cut a piece of your fabric that is slightly larger than 8 1/2 x 11 and iron it to make sure that it is very flat. Then you cut an 8 1/2 x 11 piece of freezer paper. Freezer paper has a wax coating only on one side. You put your fabric on the ironing board wrong side up and place the freezer paper wax side down on the fabric, ironing it so that the freezer paper sticks to the fabric. Then trim it so that it is exactly 8 1/2 x 11 (the size of regular printer paper).
Then you set up the printer to print high quality on "other" photo paper and print on the right side of the fabric that has the freezer paper attached to the other side. This process worked pretty well for me, but I had a hard time getting our printer to accept the fabric/freezer paper. But with Steve's help we were able to trick the printer into accepting it and the final product looked really good!
Then you peel the freezer paper off the fabric and trim the fabric down to the size you want to use. I used my sewing machine to attach the fabric sign to the skirt.
Then all that was left for me to do was assemble all of the pieces together to make my TARDIS outfit!
Thursday, 5 November 2015
11th Doctor Costumes
The process of putting together two 11th Doctor costumes primarily involved several trips to thrift stores. Pretty much everything we needed we were able to find second hand or already had around the house. We ordered the sonic screwdrivers online, and I made the bowties. (Check out the tutorial here.)
The jacket we found for Steven was way too big, but I didn't think we would be able to find anything that good in his size so we got it and I used masking tape and some temporary stitching to get it down to his size.
I love making thrift store costumes. None of the pieces that you find are exactly right, but somehow when you put them all together they look great!
Trick or treat!
You can also check out how I made my TARDIS costume!
| All of the pieces for the big doctor costume |
| All of the pieces for the little doctor costume |
The jacket we found for Steven was way too big, but I didn't think we would be able to find anything that good in his size so we got it and I used masking tape and some temporary stitching to get it down to his size.
I love making thrift store costumes. None of the pieces that you find are exactly right, but somehow when you put them all together they look great!
Trick or treat!
You can also check out how I made my TARDIS costume!
Tuesday, 3 November 2015
A Happy Halloween
Halloween has always been a bit of an awkward holiday for me, as I think it is for a lot of Christians. I never liked the idea of celebrating a day that glorifies evil and gross things. But this isn't a post about that. It's about how this year I really enjoyed Halloween.
Loving costumes, and having a very cute baby, of course I will take any excuse to dress him up! For the past couple months I had been planning themed costumes for our family. The theme? Doctor Who. Now I don't actually watch Doctor Who, it's too intense for me, but everyone else around here loves it and I enjoy hearing about the Doctor's latest adventures. Plus I saw some fun ideas on pinterest.
Since we were all dressed up, we took Steven trick-or-treating downtown. I was surprised by the fun, friendly environment. People were smiling and having a good time, and you could just start up a conversation with anyone. It's not very often that I find myself in that kind of environment in the city. I was glad that we went. Of course, Steven didn't need the candy, but we just used the candy that we collected to give out to trick-or-treaters who came to our door later in the evening!
Then back at home we ordered pizza, made apple pie, and watched musicals. I love family time!
Here are some pictures of our TARDIS, 11th Doctor, mini 11th doctor (we were operating in a paradox, or as a friend said: a pair-o'-docs), and a friendly Mongolian we had picked up in our travels.
Loving costumes, and having a very cute baby, of course I will take any excuse to dress him up! For the past couple months I had been planning themed costumes for our family. The theme? Doctor Who. Now I don't actually watch Doctor Who, it's too intense for me, but everyone else around here loves it and I enjoy hearing about the Doctor's latest adventures. Plus I saw some fun ideas on pinterest.
Since we were all dressed up, we took Steven trick-or-treating downtown. I was surprised by the fun, friendly environment. People were smiling and having a good time, and you could just start up a conversation with anyone. It's not very often that I find myself in that kind of environment in the city. I was glad that we went. Of course, Steven didn't need the candy, but we just used the candy that we collected to give out to trick-or-treaters who came to our door later in the evening!
Then back at home we ordered pizza, made apple pie, and watched musicals. I love family time!
Here are some pictures of our TARDIS, 11th Doctor, mini 11th doctor (we were operating in a paradox, or as a friend said: a pair-o'-docs), and a friendly Mongolian we had picked up in our travels.
| "Bowties are cool!" |
| The TARDIS and her thief. |
| "She’s a woman. And she’s the TARDIS!" |
| "Geronimo!" |
Thursday, 29 October 2015
That Kind of Parent
Some parents buy their children dolls or toy cars. Apparently I'm the kind of parent who buys her child a sonic screwdriver. And I am perfectly ok with that! Allons-y!
(P.S. Any guesses who we're dressing him up as for Halloween? Don't worry, there will be pictures!)
Subscribe to:
Posts (Atom)