Showing posts with label Crochet. Show all posts
Thursday, 7 December 2017
Doctor Who Shawl
It's no surprise that I don't have a lot of time for extra projects these days. "Arts and crafts" projects are especially tricky—if either child is around, they want to know what Mommy is doing, and they want to help! But that doesn't stop me from trying the occasional project, especially when I find a pattern that really makes me think of someone. (Like when I made Toothless and the baby kraken.)
This Doctor Who shawl is another such project, made for a friend of mine. It wasn't too tricky, just time consuming. I think that maybe I should stick to smaller projects until the kids get older!
You can check out the pattern here.
Just getting started, back in June.
And the shawl about to be finished—in October! But you have to admit, it is pretty cool.
Saturday, 10 June 2017
Baby Kraken
Sometimes when you see something it automatically makes you think of someone. That happened for me when I saw this pattern for a crocheted baby kraken. I know I just had to make one and send it to my friend!
If you want to try it out, you can find the pattern here and I highly recommend it. It's a quick little project that is very rewarding!
Just look at this little guy! He's determined to be fierce, but he is just so cute!
Thursday, 4 May 2017
Crocheted Toothless
One of my favourite movies of all time is How to Train Your Dragon, and one of my favourite characters in How to Train Your Dragon is the dragon Toothless. So when I saw that someone had made a pattern for a crocheted stuffed animal Toothless, I just might have squealed out loud.
The best part? It's not even that hard to make.
If you want to check out the pattern (and if you can crochet and love Toothless, then you pretty much have to), here it is: Toothless Amigurumi Pattern
This helpful tutorial walks you through the steps with pictures.
The only challenge about this pattern is that the stitches and pieces are all quite small, so it can be kind of fiddly. But on the other hand, it comes together quite quickly, compared to making something that is larger.
I had to look up how to make a magic ring, and this was a great tutorial for how to make it left-handed. Beyond that, if you know how to single crochet, half-double crochet, increase, and decrease, I think that is pretty much all the skills you need to make this super cute pattern!
Here are all of the pieces! Then all that is left is stuffing them and sewing them together.
The pattern suggests using felt for the eyes, but I ended up using a scrap of flannelette and a sharpie.
I am so happy with how it turned out! This little guy was given to a friend for her birthday, but I just might have to make another one for myself!
Thursday, 4 February 2016
Plastic Bag Doormat (part 2)
Finishing my braided jean rug encouraged me to get back to another project that I began over a year ago - crocheting a doormat out of plastic bags. That project had stalled because I ran out of plastic bags. Since then we accumulated more bags, and I continued to work on it sporadically over the past year, but I decided it was time to put in the effort and actually finish it!
Check out the original post I wrote about this project over a year ago:
Plastic Bag Doormat (part 1).
And here is the finished project!
I completely lost track of how many plastic bags it took to make the finished mat, but it was a lot! As you can see, it didn't end up laying very flat or having even edges. I found that the pattern I was using didn't work very well, and I kept on adjusting it as I went, trying to fix the different problems I found with it (specifically that the corners were much too pointy and the mat wouldn't lie flat). I managed to solve the pointy-corner problem, but couldn't quite get it to lie flat. However, I read that one way to fix that is to use a hair dryer!
The heat melts the plastic just enough to let you mold the shape a little and encourage it to lie flat. It worked very well!
The completed mat by the front door! It feels so good to finish projects.
Wednesday, 12 November 2014
Plastic Bag Doormat (part 1)
This is a project I have been wanting to do for a while now, ever since I found this pattern for a doormat that is made of plastic bags: http://www.myrecycledbags.com/2007/12/26/plastic-bag-doormat-rug/
We generally use plastic bags in our garbage cans, but half the time they have holes in them that would make a messy leak. So I thought this would be a great way to use those otherwise useless bags! Here's how it works:
You start by taking the plastic bags and making them into a kind of plastic yarn, otherwise known as "plarn". (Get it? Pl-arn, plastic yarn)
Flatten the bags and fold them in half a couple of times.
Then cut the bag into one inch strips, discarding the handles and the very bottom of the bag.
When you unfold the strips of bag, they make large loops.
Then you link all of the loops together to make a long chain.
Roll it up into balls, and your "plarn" is ready to use! I decided to keep the different colours of plastic in separate balls.
The pattern I found online was a fairly simple crochet pattern, but you could probably knit it too. I found the "plarn" to be surprisingly easy to work with, although it takes a bit more wrestling than normal yarn does.
Having different colours of plastic makes it possible to make a bit of a design.
Finding this recycling symbol made me smile. Yes, yes I am recycling this bag, but perhaps not quite in the way you were expecting me to!
Here is the mat in its current state. It is about half of the finished size I would like, and has taken 14 bags so far. But sadly I have run out of bags! Our door may have to remain mat-less for a little longer.
I find that the crocheted "plarn" has a very interesting feel, and looks much better than I expected! I will post a picture of the completed mat once I have the materials to finish it.
Brownie points to anyone who can guess the 5 stores that are represented by the bags I have used so far!
Monday, 13 October 2014
"Perfect Pony"
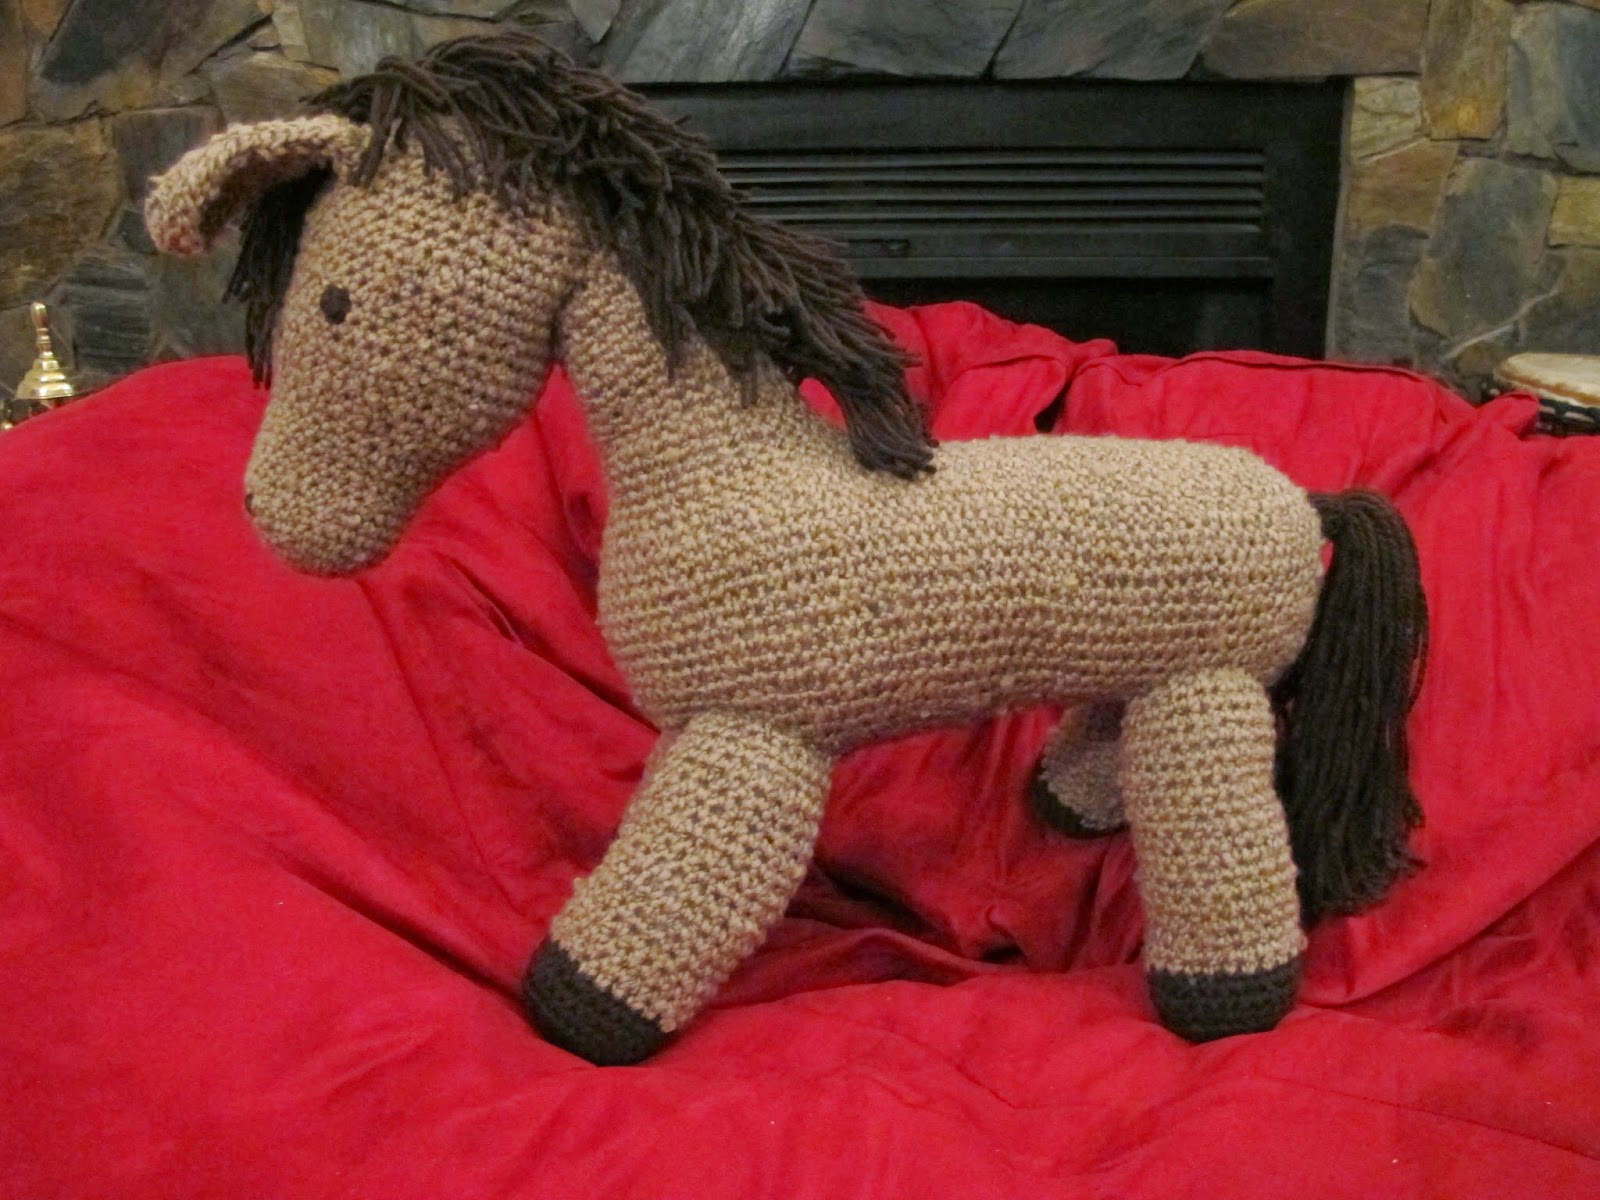
My latest project has been another stuffed animal for baby, but this time a crocheted one. I found a free pattern online for a stuffed animal horse, called "Perfect Pony". Here is the link if you want to check it out: http://members.optusnet.com.au/we2/perfectpony.html
I used a bunch of random yarn that I picked up at MCC last year, and used a crochet hook that seemed comfortable. Since the pattern didn't have a tension gauge, I really had no idea what size my pony would end up being! I also decided not to make the saddle and bridle that was a part of the pattern. Here is a peek at the process, although really the most time-consuming part was all the crocheting, and I didn't take any pictures of that.
It's really quite amazing how a bunch of random yarn can become something so cohesive, beautiful and useful.
There were definitely moments when I had to just hope that the pattern was telling me to do the right thing!
The pieces of one pony - ready to be assembled!
I am always impressed by how easy it is to sew crocheted pieces together.
Then all there was left to do was make the mane and tail, and add the facial features.
All finished! Overall I found it to be a very easy pattern, and since I was able to use supplies that I already had (yarn and the stuffing from an old pillow) it was an inexpensive project too. Sorry about the overabundance of pictures, but I think it's just so cute!
Subscribe to:
Posts (Atom)